
Website migration is the process of making major changes to a website’s technology, structure, design, or location in order to have better online visibility. Migration implies serious changes. It’s a challenging process, and you need a really good reason to take it on (we think you have one since you’ve read this far).
How to Migrate Your WordPress Site with WordPress Duplicator
- Prep for your migration.
- Install the Duplicator plugin.
- Build your package.
- Download your package.
- Create a backup file.
- Create a database on your new web server.
- Upload your Duplicator package to your new host.
- Point your domain to your new host.
- Check that your new site works.
Duplicator is built to help easily move your WordPress site between hosts with minimal to no downtime. Follow these steps for a seamless migration using Duplicator.
Watch the video how to migrate website with duplicator for free
1. Prep for your migration.
Before the move, plan out your strategy carefully to reduce the risk of any unexpected obstacles. Here are some preliminary steps to take to ensure a smooth migration:
- Set up your new hosting account. Check whether your new host offers free migration assistance. If so, this can be a big help in the later stages of the transfer.
- Take inventory of your website resources, and determine which you want to transfer. Duplicator allows you to select certain website assets for your package and leave unwanted files out.
- Develop a migration schedule that sets realistic timeframes for your migration.
- If you’re transferring confidential data, review any relevant security regulations, and be sure to follow them.
- Update to the latest version of PHP if necessary. Duplicator requires PHP version 5.3 or later.
2. Install the Duplicator plugin.
To add Duplicator to your existing WordPress site, select Plugins > Add New from your WordPress dashboard and search for “Duplicator – WordPress Migration Plugin.” Install and activate the plugin. Once activated, you’ll see a new Duplicator option in your dashboard panel.
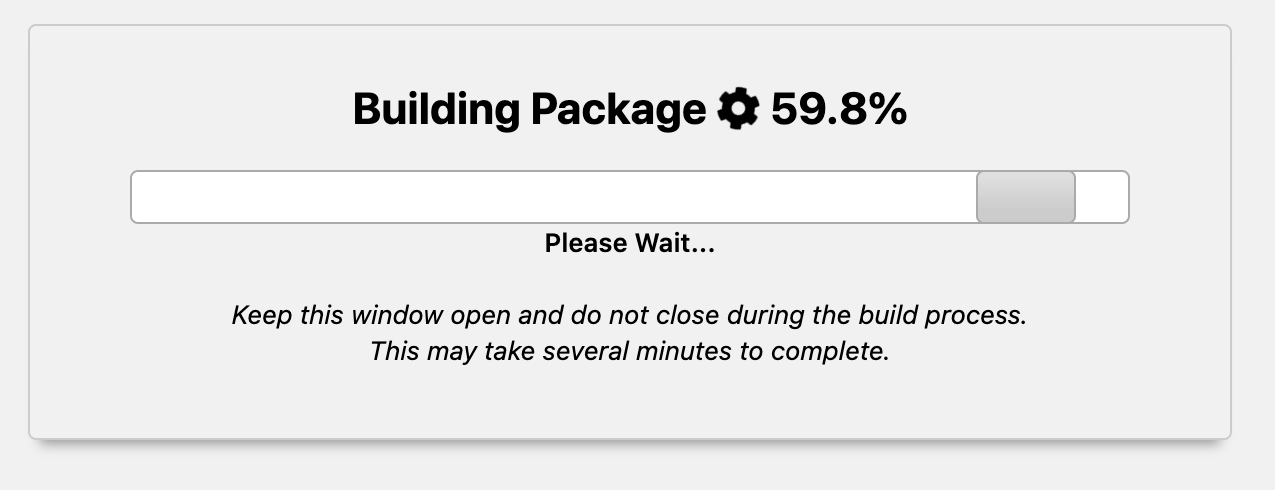
3. Build your package.
Select Duplicator > Packages, then select Create New in the top right corner. Name your package, then click Next. Duplicator will scan your site for potential issues. If it highlights any problems, resolve these and rescan before continuing.
Once the scan is complete and successful, click the Build button. Duplicator will create your package. This will take some time depending on the size of your site.
4. Download your package.
Once the backup file is built, select the One-Click Download option. This downloads both your backup file and the installer.php file to your device. installer.php will help install your package on your new host.
5. Create a backup file.
It’s always important to make a backup when making big changes to your site in order to prevent data loss. Simply make a copy of your package and store it safely throughout the rest of the migration.
If you plan to use your new host’s migration services, you now can follow their instructions. Be sure to check your site is working properly when your migration is complete! Otherwise, keep reading.
6. Create a database on your new web server.
You’ll now need to create a database on your new server to place your WordPress files. This is most easily done through cPanel, the administrator panel used by most well-known web hosting services.
To create a database on your hosting server:
- Log into your hosting account and navigate to the cPanel main menu.
- Under Databases, select MySQL Databases.
- Under Create a New Database, enter a name for the database and click Create Database. Remember this name for later.
- Add yourself as a user to modify the database. Under Add a New User, enter a username and password, then click Create a User. Remember these credentials for later.
- Scroll down to Add a User to a Database, choose the user and database you just created from the dropdowns, then click Add.
- On the Manage User Privileges screen, check the ALL PRIVILEGES box to give yourself full access to the database, then click Make Changes.
7. Upload your Duplicator package to your new host.
With a database set up, you can upload your Duplicator package. There’s no need to install WordPress on your new host first. Duplicator does this for you.
To install your Duplicator package to your new host:
- In cPanel, upload your site backup file and installer file to your root directory.
- Navigate to domain.com/installer.php, where “domain.com” is your domain name. You’ll see the duplicator installation wizard.
- Enter your database name, then your username and password that you just created (Host can stay as “localhost”).
- Click Test Connection. If the test runs properly, you’ll see the following:

- Click Run Deployment.
- The next screen will show your old and new URLs, which should be the same if you’re keeping your old domain. Click Run Update.
- On the final page, follow the testing suggestions if you’d like.
8. Point your domain to your new host.
At this point, Duplicator has done its job by recreating your site on a new host. Now you just need to change your domain name to direct users to your new host.
Your host will give you at least two nameservers, which connect your domain name to the server hosting your content. Find them through your hosting account. They’ll likely be stored in an accessible place.
After acquiring your nameservers, log into your domain registrar and replace the nameservers of your old host with those from your new host. You’ll need to wait up to a couple of days for the change to fully take effect.
9. Check that your new site works.
Your visitors shouldn’t notice any changes to your site while you switch hosts. Assuming no major issues with the transfer, your site will experience zero downtime during the migration, and all your content should look the same.
That said, it’s good practice to check as many pages as you can to ensure all content was moved properly, and replace any missing or broken files if necessary. Your backup might come in handy here.
Thanks, Duplicator!
Duplicator has earned its high reputation — it’s a great example of an easy-to-use, free-to-use, and safe-to-use WordPress plugin. After all, just copying your WordPress site and pasting it elsewhere shouldn’t be that difficult, right?
Hi! I just finished reading your blog post, and I must say, it was excellent. Your ability to explain complicated concepts in a simple and engaging way is truly remarkable. Thank you for providing such valuable content. I can’t wait to read more from you in the future.
Greetings! I just finished reading this blog post and felt compelled to leave a comment. Your analysis on this subject was spot-on and gave me a lot to think about. I appreciate the time and effort you put into creating such valuable content. Looking forward to more posts from you!